
Ultimate Guide to DIY Pumpkin Decor
As Halloween draws closer, many people look around their communities for the most extraordinary pumpkin farm they can find.
They get excited to discover the most stunning pumpkin and bring it back to their house to exhibit with pride, so they set out on their quest.
If you’re one of these people looking for the best DIY pumpkin decor, you’ve come to the right place! We will get through various topics about pumpkin carving to help you maintain your pumpkin’s best quality.
So, take out your list because you might need to take a quick trip to the store for the necessary things used in pumpkin carving and DIY pumpkin decor.
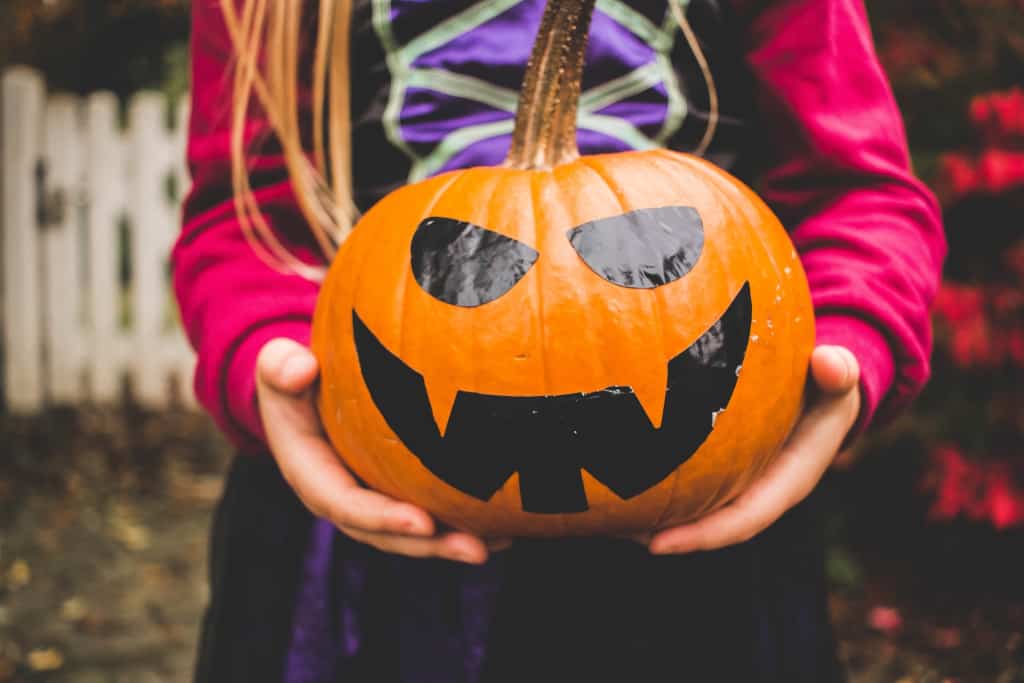
DIY Pumpkin Decor: Unleashing Your Inner Artist
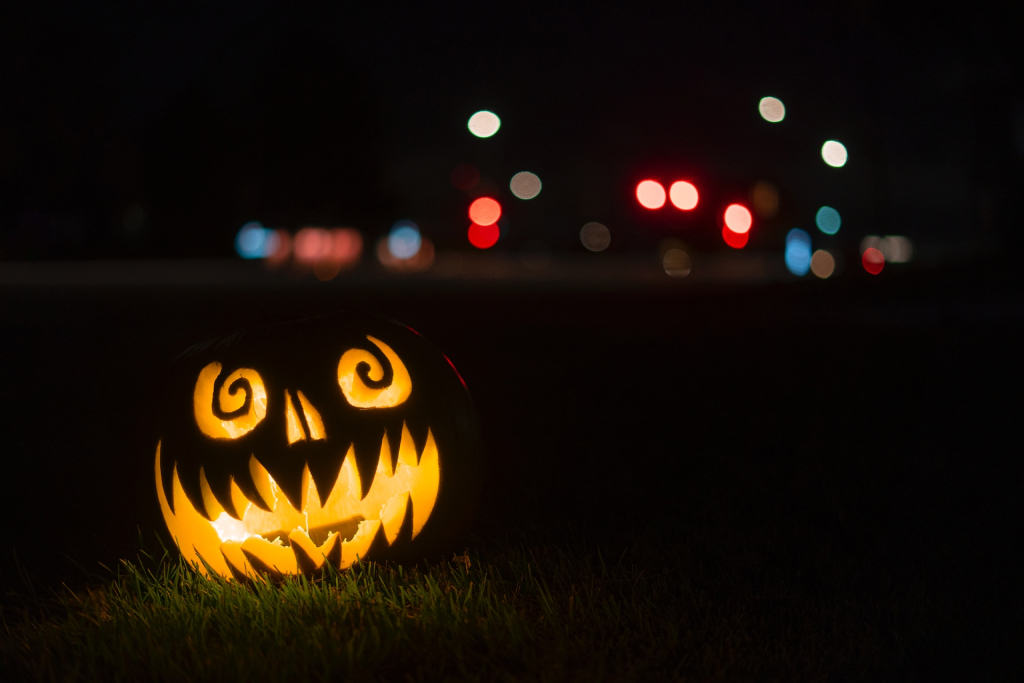
Credit: Image by Intricate Explorer | Unsplash
We can follow various pumpkin crafts to decorate our pumpkin this Halloween, but today we will focus on making our DIY Pumpkin Decor: Pumpkin Carving.
Pumpkin carving is a beloved tradition associated with Halloween. It involves slicing into a pumpkin, removing the pulp and seeds, and then using a carving tool to elaborate designs on the exterior. It is fun, yet it should be a guided activity, especially for kids.
There are many designs to follow when carving, depending on your creativity and experience. Some standard techniques are putting your name on it, spelling out a word using multiple pumpkins, making patterns, a cartoon character, or simply ghost pumpkin carving.
Regardless of your intended design, as long as you like it, you can make it!
Materials You’ll Need
Credit: Image by Jessica Christian | Unsplash
With these tools, carvers of any skill level can make nearly any pumpkin design. A keyhole saw, sculpting tools, and T pins are all you need for simple patterns. However, expanding your toolkit with specialized items is essential for more intricate work.
Here is a list of the common tools/materials you’ll need to make your DIY pumpkin decor:
- Fleshing Tool
- Keyhole Saw
- Miniature Saw
- Sculpting Tools
- Petroleum Jelly
- Awl
- Linoleum Carving Tool
- Drill and Spade Bits
- T Pins
- Needle Tool
- Cookie Cutters
You can use any brand or variation of these tools, but here are some of our recommendations:
- Dritz 100 T Pins
- Kemper Hole Cutters
- Woodcraft Harima Keyhole Saw
- Lineco Awl
- Kemper Sculpting Tools
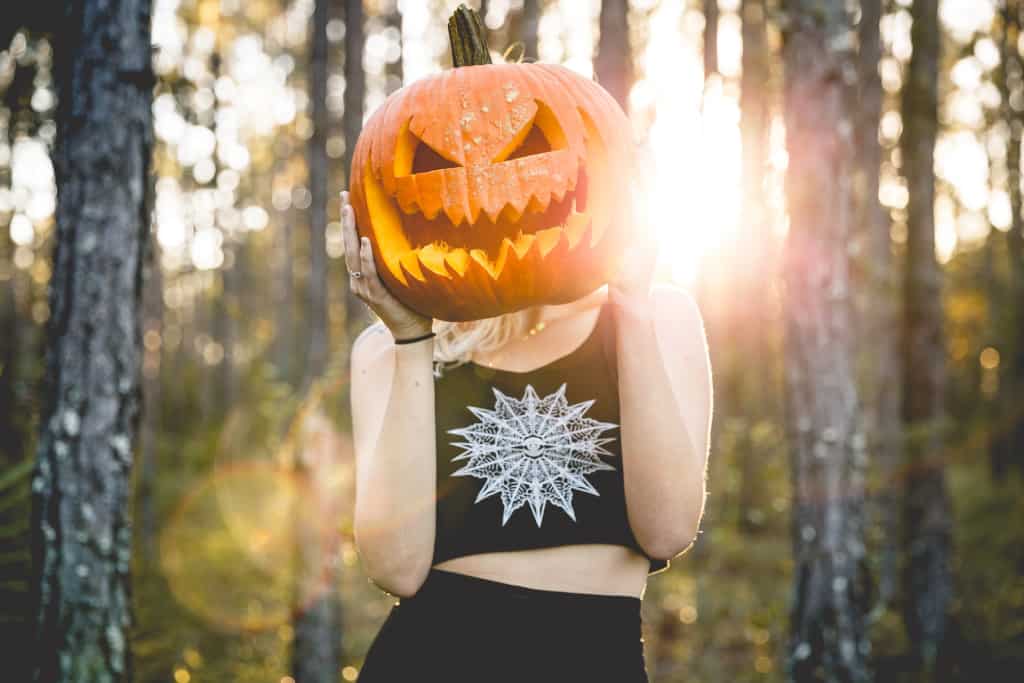
Selecting the Perfect Pumpkin
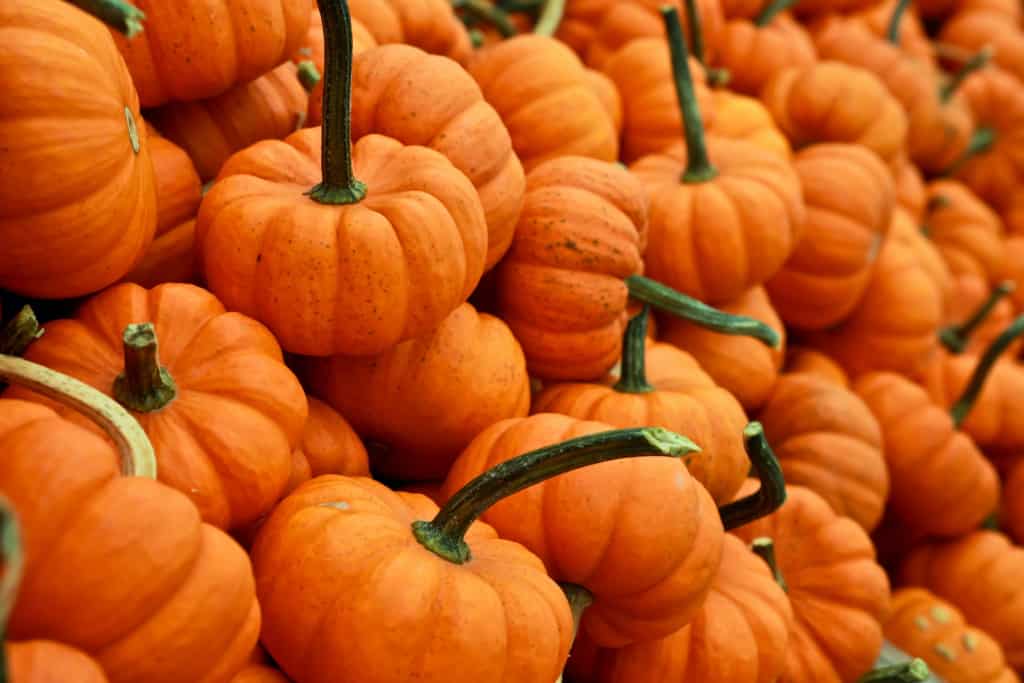
Credit: Image by Gabby Orcutt | Unsplash
Search for the best pumpkin patch farm in your neighborhood or near your community, and try to find pumpkins that are firm, even in color, and free of blemishes. The shape of the pumpkin you carve will depend on the design you intend to create.
Vertical designs benefit from tall, elongated ones, whereas horizontal patterns benefit from short, square ones.
When choosing a pumpkin, consider the layout design, as this will help you determine which pumpkin is suitable for stacking or display.
The side of specific pumpkins that rested on the ground as they grew is flatter than the other. Pumpkins with flat surfaces are simpler to carve than curved ones. If you’re stacking pumpkins, try turning the stack and figure out which will go below and on top.
Here are some pumpkin variations you can choose from:
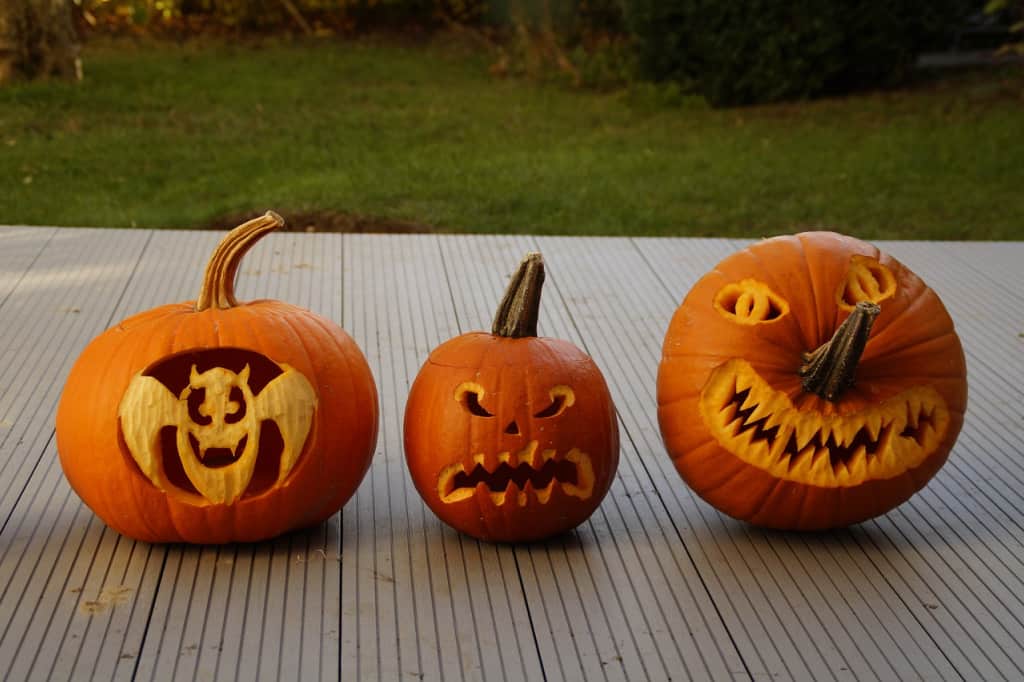
Traditional Carving vs. Painted Pumpkins

Credit: Image by Pixabay | Pixabay
Traditional carving has become a culture during Halloweens, but painted pumpkins are also an excellent alternative. Both are creative and fun to do.
If you’re torn between the two, here are some pros and cons to help you determine which suits your intended pumpkin DIY decor.
Traditional Carving
PROS:
- The possibilities for elaborate patterns and scary faces on your pumpkin are only limited by your imagination. Pumpkin carving is a way to ignite your creativity!
- Pumpkin carving is a centuries-old Halloween activity that connects one to their childhood or yearly family tradition.
- Pumpkin carving is very rewarding after making a beautiful design.
- Candles or LED lights inside carved pumpkins offer a cozy, festive touch to the Halloween celebration. They make them extra attractive.
CONS:
- Messes often result when carving pumpkins and cleaning the pulp and seeds.
- Carving can be dangerous with blunt or untested tools, especially around youngsters or novice carvers.
- Pumpkins that have been carved tend to deteriorate more quickly than those painted, especially if not handled carefully.
- Once a pumpkin has been carved, it might last just a few days before it begins to rot and lose its shape.
Painted Pumpkins
PROS:
- Complex designs such as scenery, patterns, characters, and more are possible when working with paint.
- Painting pumpkins is a much simpler and less messy option compared to carving.
- Painting is a safe hobby for kids and adults alike because it doesn’t require any pointy or sharp objects.
- Some people who want a more conventional Halloween experience may feel that painting pumpkins lack the same charm as carving.
CONS:
- Only some have the artistic ability to paint elaborate pumpkin decorations.
- Pumpkins painted instead of carved may need more depth and dimension from the latter process.
- While carving and painting allow for personal expression, the latter may not produce the same eerie atmosphere.
You may decide what you’ll go for depending on your theme, time, ability, and dedication. Pumpkin carving might need a lot of your time, and if you’re not deeply attached to what you’ll do, you may opt to lighter activities such as painting.
Nonetheless, if pumpkin carving is what you’re set for, we’re already proud of your pumpkin’s future outcome!
Safety First: Carving Tips
Credit: Image by Efraimstochter | Pixabay
Keeping yourself safe while carving is a top priority. It’s a given that you’ll rush a bit to save time, but remember that when you hurt yourself, it will take you longer to finish your DIY pumpkin decor.
With that in mind, here are a few safety tips for you:
- Take your time; don’t rush!
- Make use of delicate, controlled movements.
- Maintain a dry state in both your hands and the carving instruments.
- Pick a spot that has enough light and a solid surface to work on instead of a dimly lit one.
- Keep the top of the pumpkin on so you won’t have to put your hand within the pumpkin and risk injuring yourself. It will keep you safer.
- Avoid working in a cramped space because you will be using sharp tools.
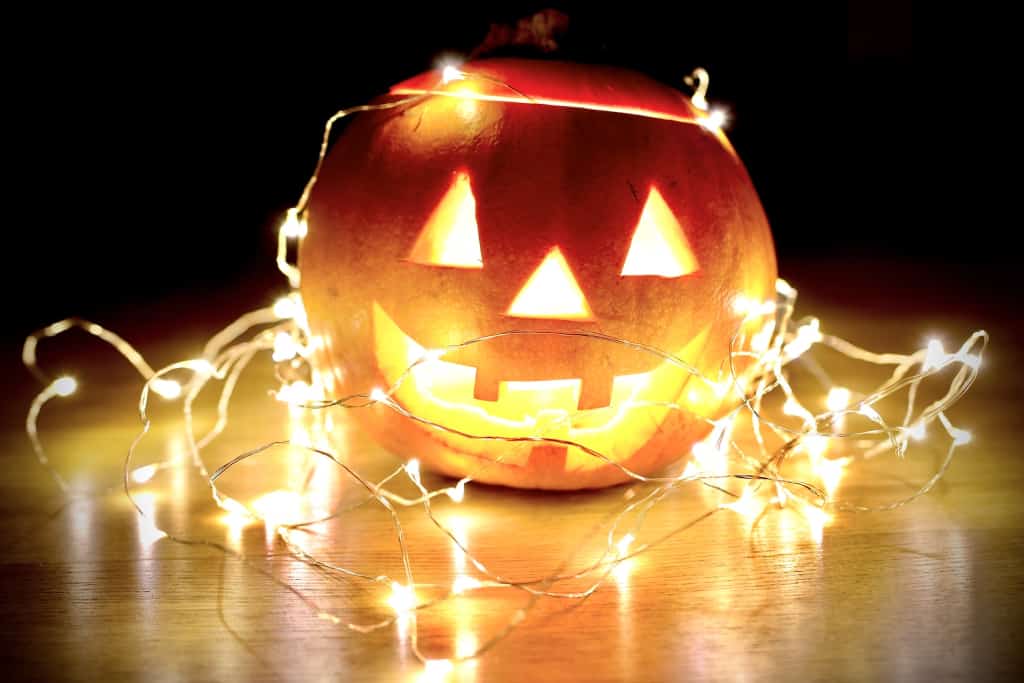
Preserving Your Masterpiece
Credit: Image by Julia Raasch | Unsplash
Here are some tips to help you prolong your pumpkin and preserve the masterpiece you created:
- Avoid using harmful chemicals such as bleach.
- Alternatively, spray some vinegar into a cloth to clean the exterior and inside of the pumpkin or soak it for 30 minutes in a bath of 1 part vinegar to 10 parts water.
- Use a peppermint soap. Wash it thoroughly inside and out by soaking it in a tub full of soapy peppermint or wiping it down with a wet cloth dipped in soapy water. It would be best if you didn’t bother rinsing it off.
- Rub vegetable oil all over both sides of it.
- Keep your carved pumpkin away from direct sunlight or heat.
- Remove all insides of the pumpkin.
- A fairy light is an excellent alternative to using a real candle.
- Do not let your carved pumpkin freeze.
- Keep the tools away from a child’s reach.
- Do not let your carved pumpkin get soaked from the rain.
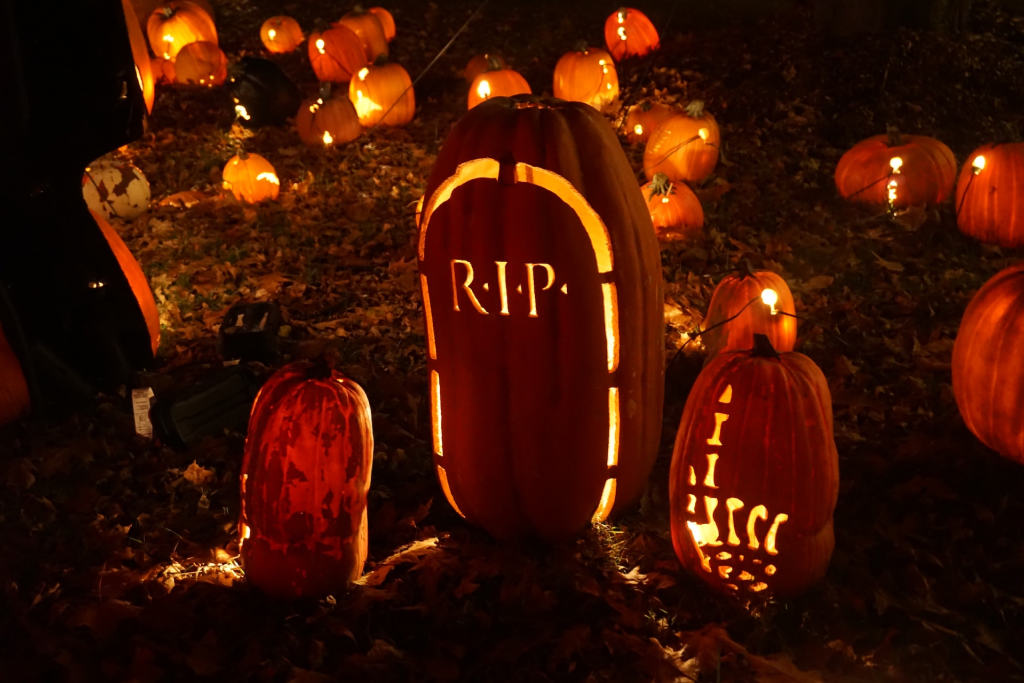
Displaying Your DIY Pumpkin Decor
Credit: Image by Łukasz Nieścioruk | Unsplash
We have also prepared some tips on how to display your pumpkin decor in a spooky yet festive way:
- You may decorate a frightening pumpkin basket by joining two baskets full of pumpkins with craft wire, adding a piece of driftwood or a wooden stick for the stem, and gluing on a felt face. Place your homemade pumpkin among fall plants.
- Displaying pumpkins on a pedestal makes them look much more attractive. A concrete pedestal urn makes a charming centerpiece for a table or counter.
- If you made a small pumpkin carving, you can put them in a fancy bowl or use a black bowl to match the Halloween theme.
- You can also put your DIY pumpkin decor in your house’s empty yet visible space.
To level up the decoration, add more Halloween or fall decorations in your house, like fake spiders, a broom, fake spiderwebs, fake bats, and witch hats, or drape a white cloth in a stick or coat rack and make two holes for the eye.
 Note: This image may include elements generated by artificial intelligence (AI).
Final Thoughts
Pumpkin carving can be a fun and exciting thing to do. It can poke your creative minds, be an excellent tradition, or just a pleasant pastime.
Whatever the reason you are doing it, always do it with proper caution, and don’t forget to put your vision and heart into it. Lastly, trust yourself that you’ll make an exceptional masterpiece!
Are you thinking of doing more DIY pumpkin decor? Let us know by connecting with us! We’d love to hear about your ideas and suggestions! Contact us or check out our social media accounts for more information.
Facebook: https://www.facebook.com/mrbonespumpkinpatch/
Instagram: https://www.instagram.com/mrbones/
Credit: Image by Sudan Ouyang | Unsplash
Frequently Asked Questions
What materials can you use to decorate a pumpkin?
For pumpkin carving, these are the things you should use:
- Fleshing Tool
- Keyhole Saw
- Miniature Saw
- Sculpting Tools
- Petroleum Jelly
- Awl
- Linoleum Carving Tool
- Drill and Spade Bits
- T Pins
- Needle Tool
- Cookie Cutters
How can I make my pumpkin decor last longer?
Handle your pumpkin decorations carefully and avoid placing them in spaces that can easily damage them, such as leaving them in locations where natural elements such as sun, rain, and unwanted moisture can rot them quickly.
Ensure that they are super dry after you take out the insides before displaying them. Don’t let animals or pets near them; they will snack on them!
How long will my carved pumpkin last?
The truth is, carved pumpkins don’t last long. They start to rot, which is a terrible fact for those who enjoy carving them.
The flesh of a pumpkin quickly spoils when exposed to air. The average lifespan of a carved pumpkin is between three and five days, but with enough care, you may be able to increase that to days or even weeks.
Can I eat a pumpkin after painting or carving it?
Humans or animals should not eat pumpkins with designs or paints, especially after displaying them outside. If you want to reuse a pumpkin, try avoiding painting it or use paints made with food-based colors.
As much as possible, avoid eating it unless it is specifically made for eating, such as treats.
How to decorate fake pumpkins?
Fake pumpkins are great, too, because you can paint, carve, and mount them without stressing about pests or animals ruining your work. You can paint them using glow-in-the-dark paints or adorn them with Halloween or fall elements.
What kind of paint is best for pumpkins?
There are various options you can choose from, including the following, which you can easily access in stores:
- Acrylic paint
- Washable paint
- Spray paint
- Chalkboard paint
- Paint markers
Oil-based paint can be hard to work on, especially if it takes too long to dry. The options above are suitable for your DIY pumpkin decor; even kids can use them.